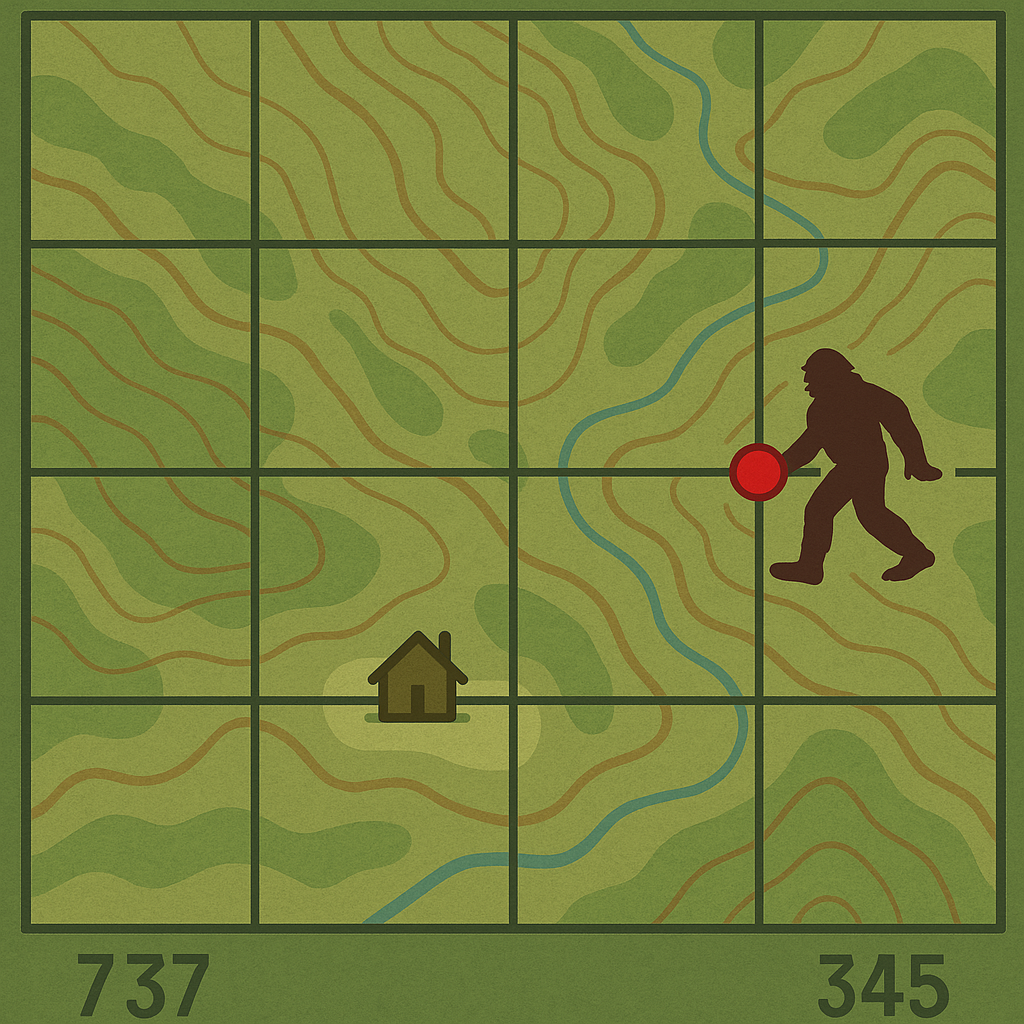
🎯 How to Plot a Grid Point on a Topographic Map
Reading a map is good. Plotting a grid point with precision? That’s survival-level skill. Whether you're calling in coordinates, planning a recon route, or stashing gear off-grid, you need to know exactly how to lock in a location on paper using a map protractor and topographic map.
At Squatch Survival Gear, we build American-made packs for people who go places GPS can’t reach. In this post, we’ll show you how to plot a 6-, 8-, or 10-digit grid point the right way—no batteries required.
🧭 What’s a Grid Point?
A grid point is a specific location marked on a topographic map using either UTM (Universal Transverse Mercator) or MGRS (Military Grid Reference System). If you're not sure what the difference is, we broke it down inside our Map Legend blog post.
Grid points are used by military units, SAR teams, preppers, and long-distance hikers because they’re repeatable, precise, and compatible with GPS or compass navigation.
📐 What You’ll Need:
-
A topographic map (1:24,000 or 1:50,000 scale preferred)
-
A map protractor matched to your map scale (Need help? Here’s our guide.)
-
A sharp pencil or grease marker
-
A map case or tough plastic bag to keep your gear dry
-
A steady hand—and the rule: Right, then up
📊 Grid Coordinate Basics
Grid points come in different levels of precision:
-
6-digit = 100-meter accuracy →
18S UJ 228 073 -
8-digit = 10-meter accuracy →
18S UJ 2285 0734 -
10-digit = 1-meter accuracy →
18S UJ 22853 07342
Most operations, hikes, or bug-outs can get by with 6- or 8-digit precision unless you’re dropping a radio beacon or calling for grid-based artillery.
🔧 Step-by-Step: How to Plot a Grid Point
Let’s say you’re working with an 8-digit MGRS coordinate:
👉 18S UJ 2285 0734
1. Confirm Your Grid Zone
-
18Sis the UTM zone -
UJis the 100,000-meter square ID
Double-check the margins of your map to ensure you’re working in the right zone.
2. Find the Grid Square
-
Start with the first three digits of both easting (
228) and northing (073) -
That puts you in a 1,000-meter by 1,000-meter square
⚠️ Pro Tip: Always read grid coordinates right, then up—eastings first, then northings. This is true for every topographic map.
3. Align Your Protractor
-
Place the square corner of your protractor in the lower-left corner of the grid square
-
Line up the edges with the map's grid lines—horizontal and vertical
4. Plot the Exact Location
-
For
2285, move .5 units to the right on the easting scale -
For
0734, move .4 units up on the northing scale -
Where those points intersect—that’s your plotted grid location. Mark it with a dot and label it clearly
🔍 Want to Practice?
Here are two great tools for practicing without needing to be in the field:
Also check out our guide:
🧭 How to Use a Map Protractor
🎒 Pack It Like You Mean It
Your map and plotting tools should live in a waterproof case or heavy-duty zip-seal bag, stored in your go-bag or chest rig—not at the bottom of some random pouch.
✅ The Gnome Chest Pack is perfect for land nav tools, protractors, and pace beads
✅ The Kakamora 3-Day Pack gives you full mission loadout space with organized admin panels
✅ The Night Howler EDC keeps it light and tight for urban nav or fast travel
🧠 Final Word
Plotting a grid point isn’t just a cool skill—it’s a survival essential. It means you can mark your exact location, plan smarter routes, and communicate clearly with your team—even if the satellites go dark.
And the best part? You don’t need a signal. You just need training.

